our process behind resurfacing...
|
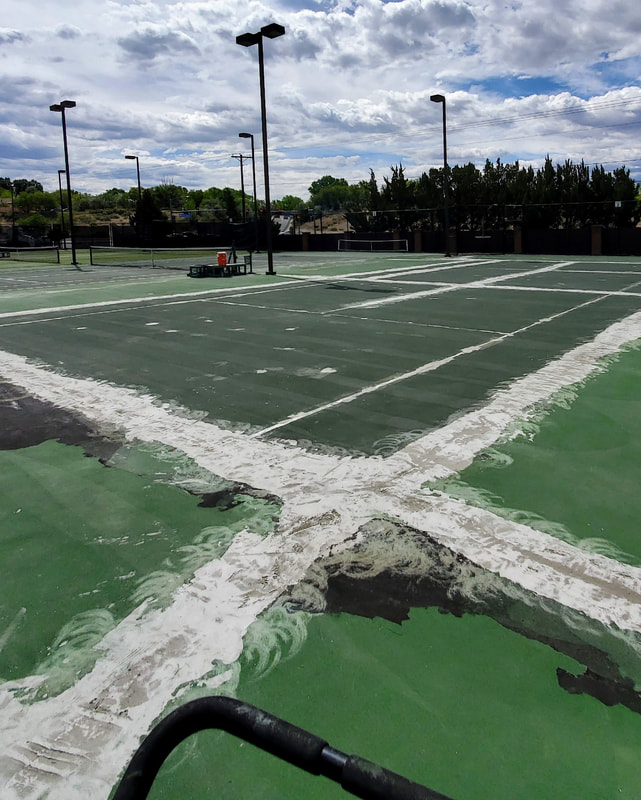
Proper preparation is key. We begin by pulling weeds, debris and other foreign material from all of the cracks. We then take a grinder to all of the cracks in order to grind the lipped cracked edges back down to the court surface level.
|

|
|
The cracks are then washed, cleaned and filled using a sand, acrylic binder, and cement mix ratio. Once hardened, the crack patches are ground back down to the court surface and power washed once more to insure proper adhesion of acrylic coatings.
|
|
|
We apply 1 to 2 coats of Acrylic Resurfacer (AR) mixed with mesh silica sand with a soft rubber squeegee to the entire court surface. This is a primer and filler coat as needed for the color coatings to come.
|

|

|
Next, we layout the Pad and apply 2-3 coats of customer picked Colored Acrylic mixed with mesh silica sand and squeegee it around within the Pad boundaries. Once dry, minor imperfections are scraped off and the surface is cleaned before proceeding to additional coats. The amount and size of sand may be varied to achieve different playing textures.
|
|
|
After the Pad, we layout and squeegee 2-3 coats of the customer chosen out-of-bounds colored Acrylic. Once dry, minor imperfections are scraped off and the surface is cleaned before proceeding to additional coats. Similar to the last step, the amount and granule size of sand added can be varied to achieve different playing textures.
|

|

|
Time for line layout! We use non-staining, washable blue chalk to snap lines between our measurement marks. We can layout any one tennis court with 1, 2 or 4 pickleball courts on top, basketball or volleyball too! (the court shown here has 4 pickleball courts on top of one tennis court).
|
|
|
Next, we apply tape to the court surface at our layout lines to achieve a standard 2" game line. However, other game line widths can also be applied. Some tennis clients prefer a 3" baseline!
|

|

|
Line Painting. To start, we use a small 3" nap roller to spread line primer in-between the taped edges. Once the primer has fully dried we roll on our first coat of white line paint (or colored line paint for blended, multiple game court striping). After this coat has dried, we apply our final coat of line paint. Tape is peeled up and the cut-in touch-ups begin!
|
|
|
This is our last step before the nets go back up and your play can resume. Unfortunately for us sometimes the line paint bleeds under the tape, so we take that extra step and go that extra mile by walking and examining every line in order to touch-up paint, sharpening the line edges, giving your court the professional look it deserves!
|

|